I posted about the first sculpture I did for my 3D art class this past term. We had one project every two weeks, and the last one actually involved making three different sculptures.
The first one was a two-piece abstract sculpture where the two pieces interact symbolically, and where one piece is organic and one geometric. I decided to do an organic cat with its tail looped back onto its back and a geometric hand grasping the tail. It’s supposed to represent the relationship between cats and people. We had to carve the pieces out of floral foam and then coat them with glue so we could paint them.
Here are a few shots of the final product:
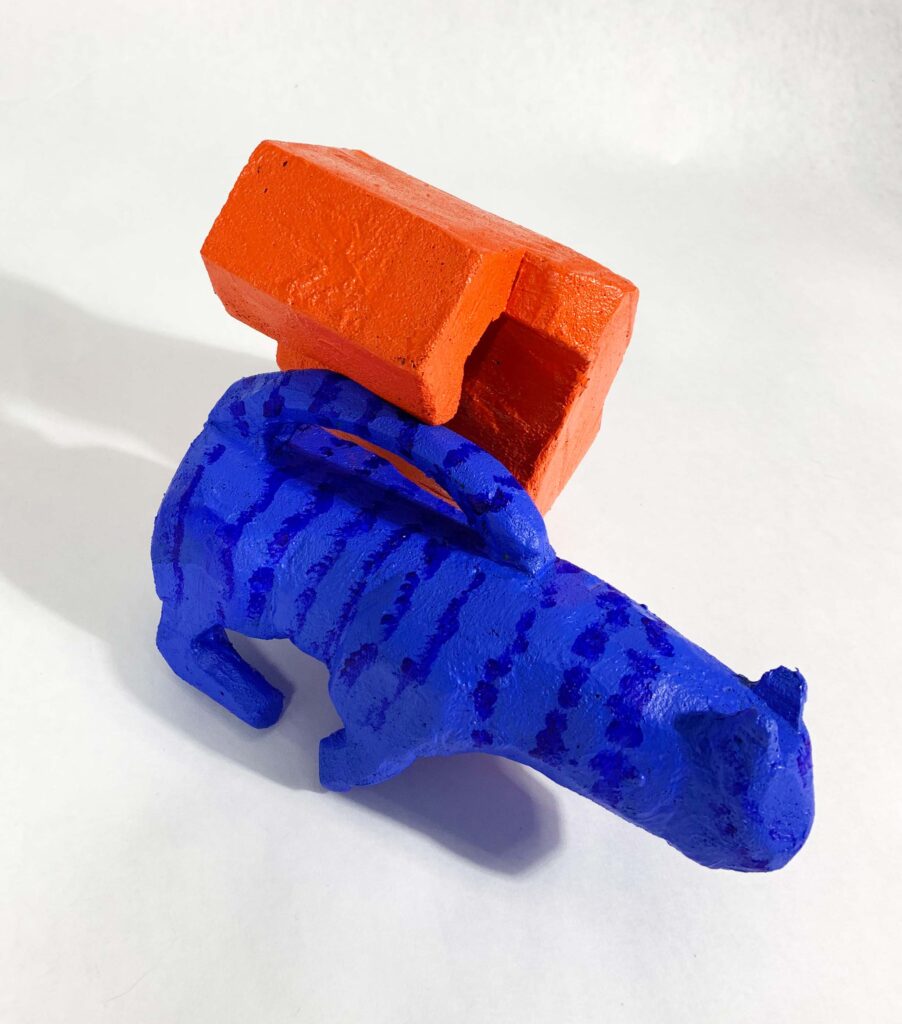

I ended up kind of liking this even though it’s rudimentary and I forgot to paint the cat’s nose and eyes.
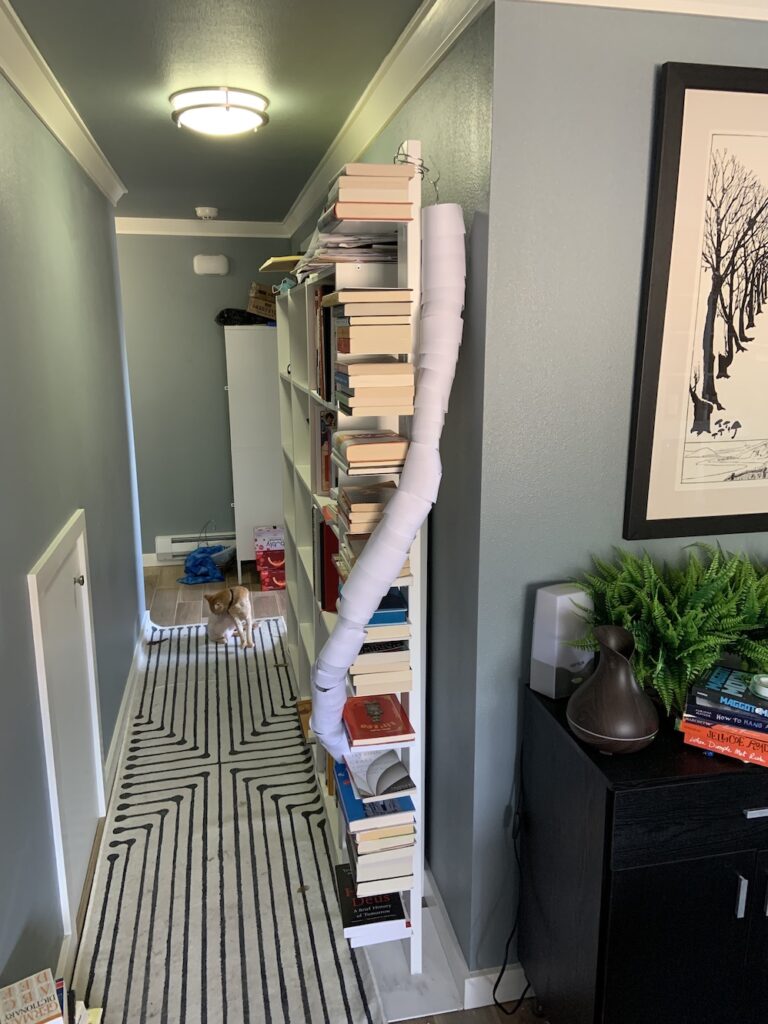
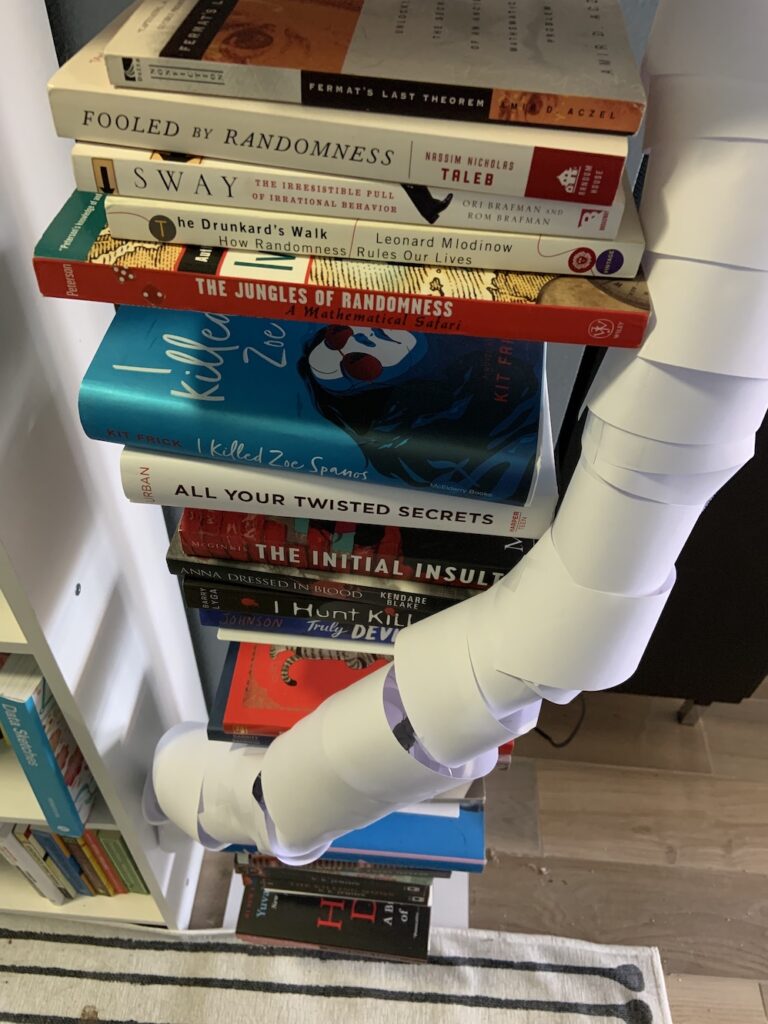
The next assignment was to do a site-specific paper sculpture. I was interested in doing something with thunderstorms (especially lightning) or tornadoes. I was considering doing a sculpture on my deck because they preferred outside work, but it was supposed to be rainy on the weekend it was due, so I decided to attach it to an interesting bookshelf that I have, which is a tall post with shelves that stick out one side, without sides. There was some space between the post and the wall that I thought a long, skinny tornado would fit back there. From feedback on my initial sketches, I realized I needed to make it more site-specific, since I could hang it anywhere tall enough. So I decided to twist it around the shelf and attach it to the other normal bookshelf next to it.
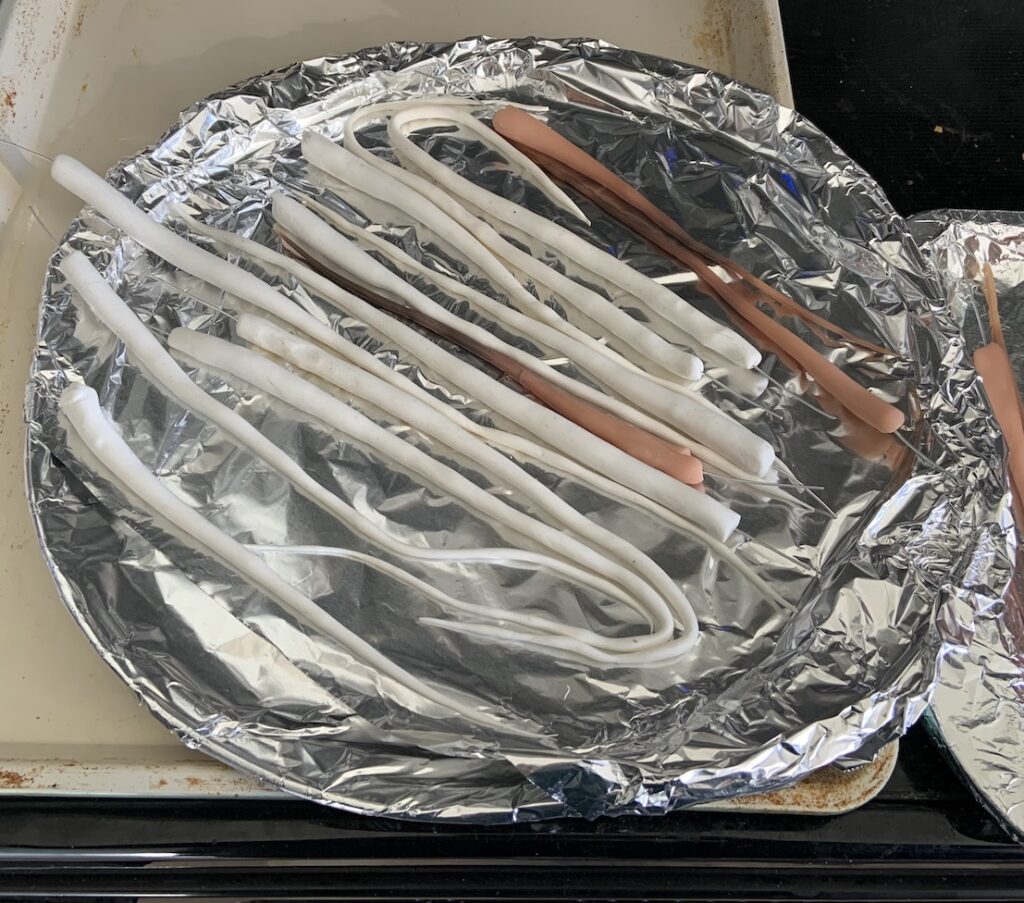
To make it, I planned to make a wireframe and attach rings of paper to it. So I made a long skeleton with wires sticking out horizontally, with Sculpey at the joint to hold the cross wires in place. The wires eventually were bent to make a flat U-shaped shape to which paper rings could be taped to. This is what the four segments looked like before baking:
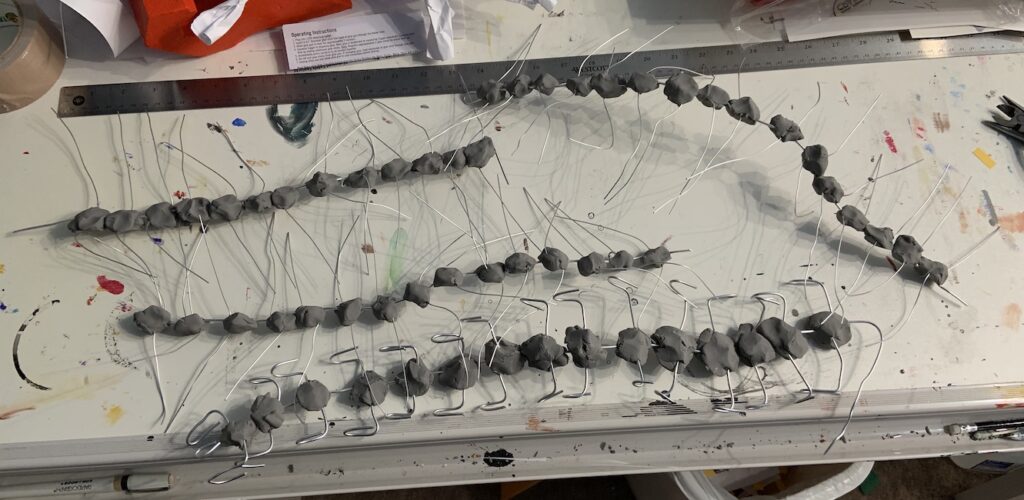
The bottom one is the first one I made, out of thicker wire, with the ends of the cross pieces already given the U-shape. The others I did later, after I baked them. This is what the final piece looked like:
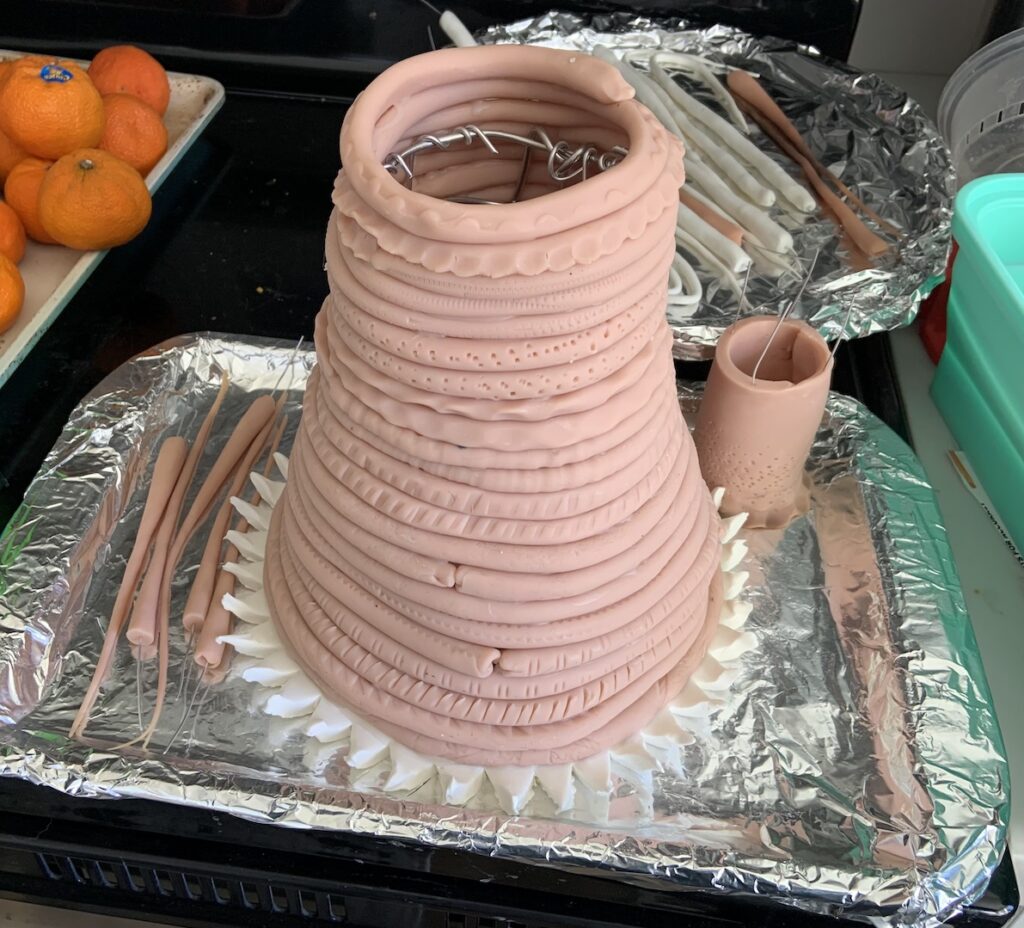
The next project was actually three different sculptures, each of which represented an element or principle of 3D design. The words I went with were the elements texture and plane plus the principle repetition. Each sculpture had to be at least 8 inches in one direction. We had to do one sculpture in one week and the other two the following week, so I decided to start with the principle texture and I had an idea for a coil pot made of Sculpey where each child had a different texture on it. I started on this before the final idea had formed. But I made a wireframe for a pot that was about 8 inches high. Then I rolled out many coils and rolled them across things or used tools to give impressions of texture, and began adding them to the wireframe. I forgot to give it a base, which was hilarious, so I had to add that later. I had the idea for things sticking out of the top of the pot, giving an overall textured impression for the piece (the textured coils were micro, and this would be macro). So I made these pointy stick things with the intention of putting floral foam inside the pot to hold these things up (I put a wire in the base of each of the sticks). I then thought it might be interesting to add another inner cylinder structure to have some of the things sticking out of, while the others came out of the main pot. Here’s right before I baked everything:
I decided to paint the pot green and had the idea of getting textured paint for the sticks, and I actually ended up finding a metallic green paint that apparently changes color depending on angle. That required a base coat of black, so there were a lot of steps to getting this all ready, and the texture paint took forever to dry. And when it came time to put it all together, I filled the pot with floral foam and then was able to only use some of the sticks. But here is the final version, from the side and top (the top view was surprisingly cool):
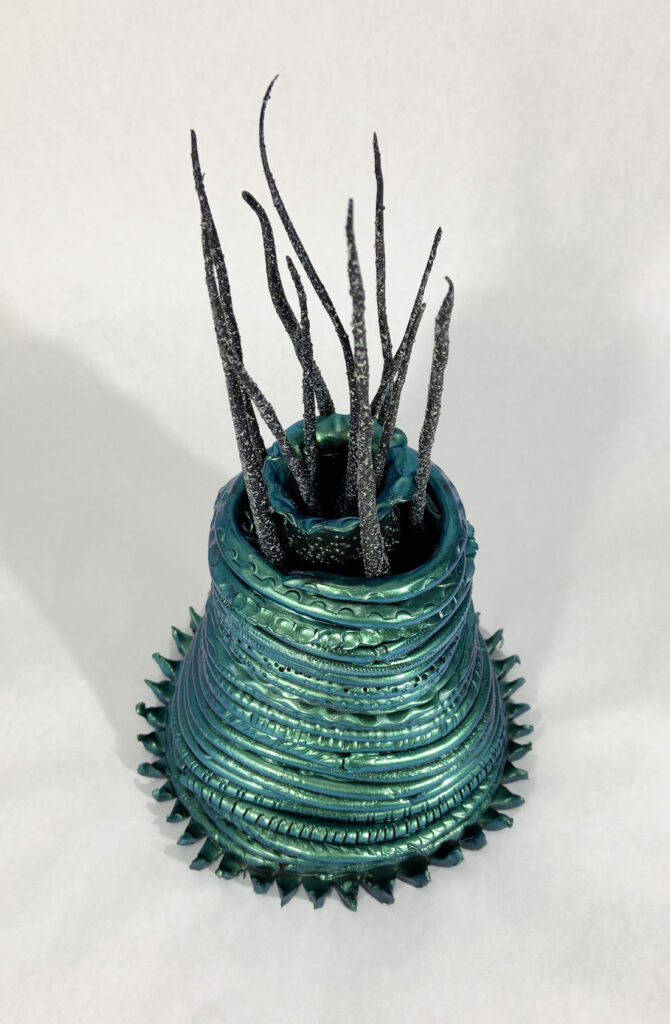
I actually quite like this and am thinking of keeping it, but I’m still not sure how to totally secure what’s going on inside. I wondered if this was a job for resin, which I’ve never used. But I went to Michaels and got some help, and we decided that the resin might melt the foam. We actually came up with Mod Podge as an alternative. I’d just have to pour a little bit in at a time to allow it to dry. Also, I’ll still have to figure out a way to plug all the (possibly unknown) holes where I didn’t cover gaps between the coils. I’m wondering if I can figure out a way to coat the inside walls with something before pouring most of the Mod Podge in. Anyway, I’ll figure it out eventually (though I have no idea where I’m going to keep this thing in the meantime—it’s like 16 inches tall).
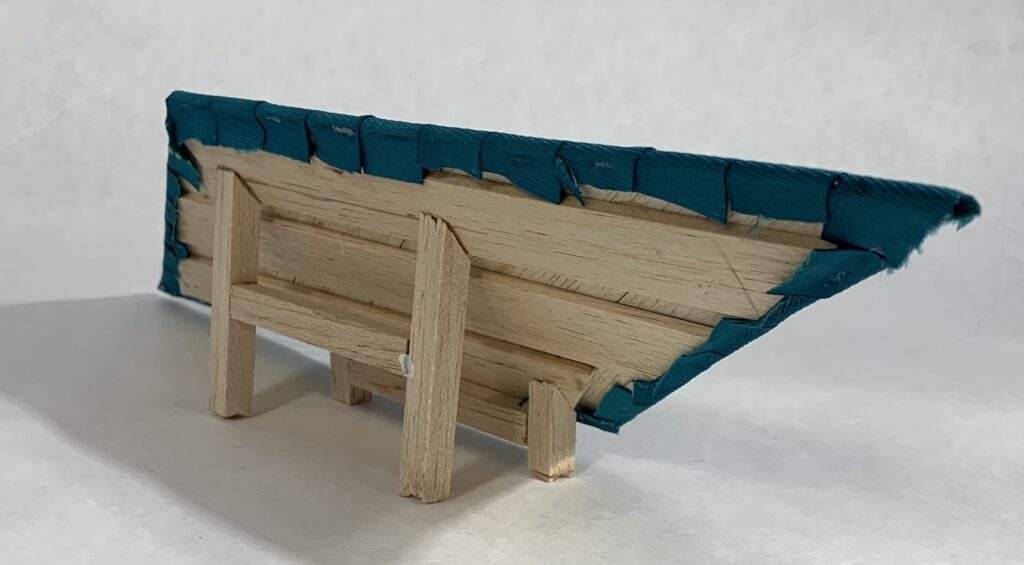
The next sculpture I did was the one for the plane idea. This one I did out of balsa wood and ribbon. I thought I’d create a flat surface and prop it up with a frame. In the end I made the flat surface a parallelogram shape to make it more interesting, covered it with teal ribbon, and made it so the frame held the plane up off the ground and at an angle. It’s not super exciting, but it makes the plane element dominant. Here it is from the front:
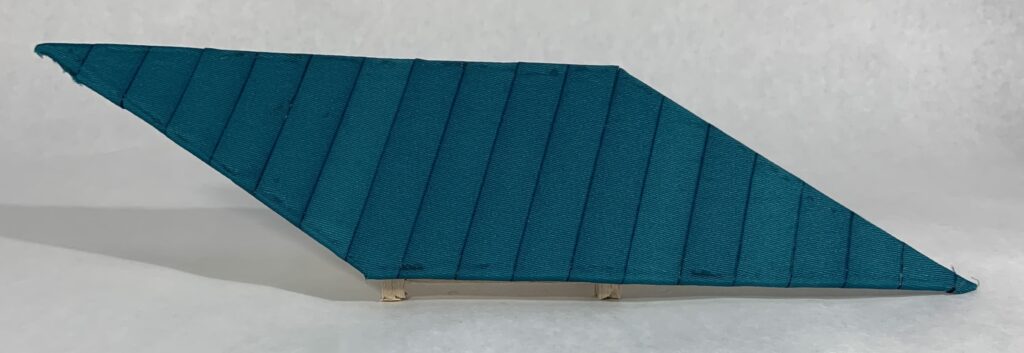
And from the back side:
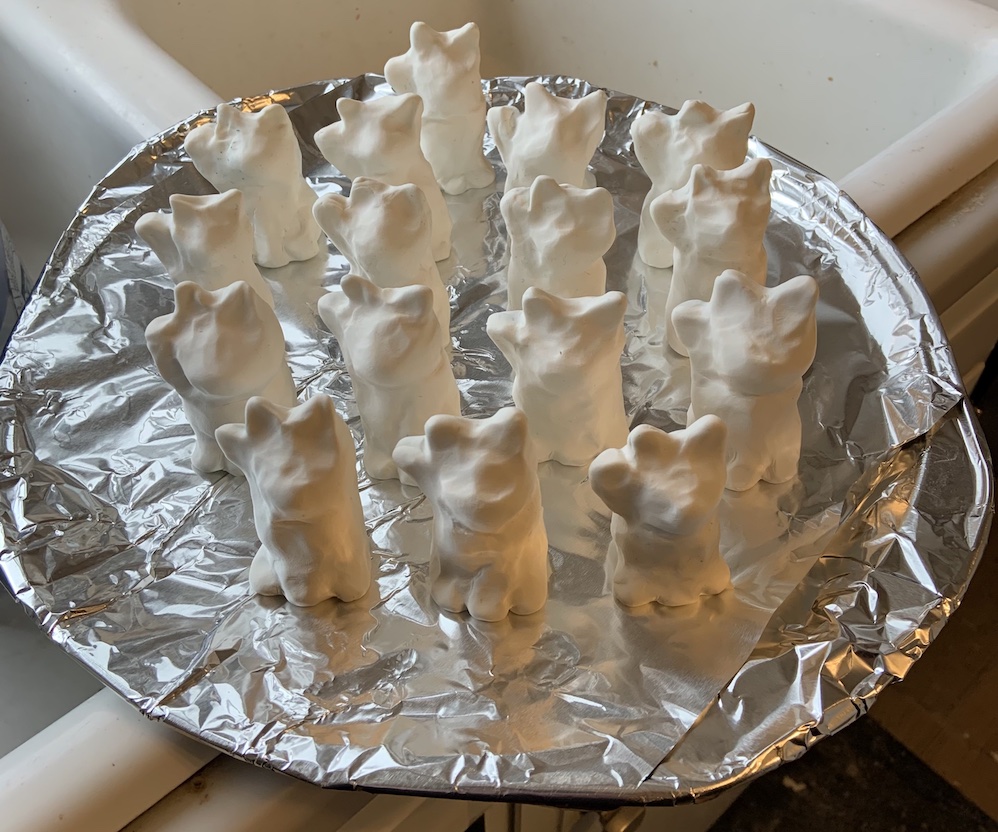
This one isn’t very exciting. The last one I did is a little silly. I chose to illustrate repetition, and I was thinking about how repeating something can change the meaning. I once saw this picture of a whole bunch of maneki neko (beckoning cat) at a Japanese temple (like hundreds, in different sizes and configurations) and I thought how it was kind of funny, so I thought I’d do my own army of them and have them surround something so it looks like the thing is being worshipped. Here’s after I made the little army and baked them:
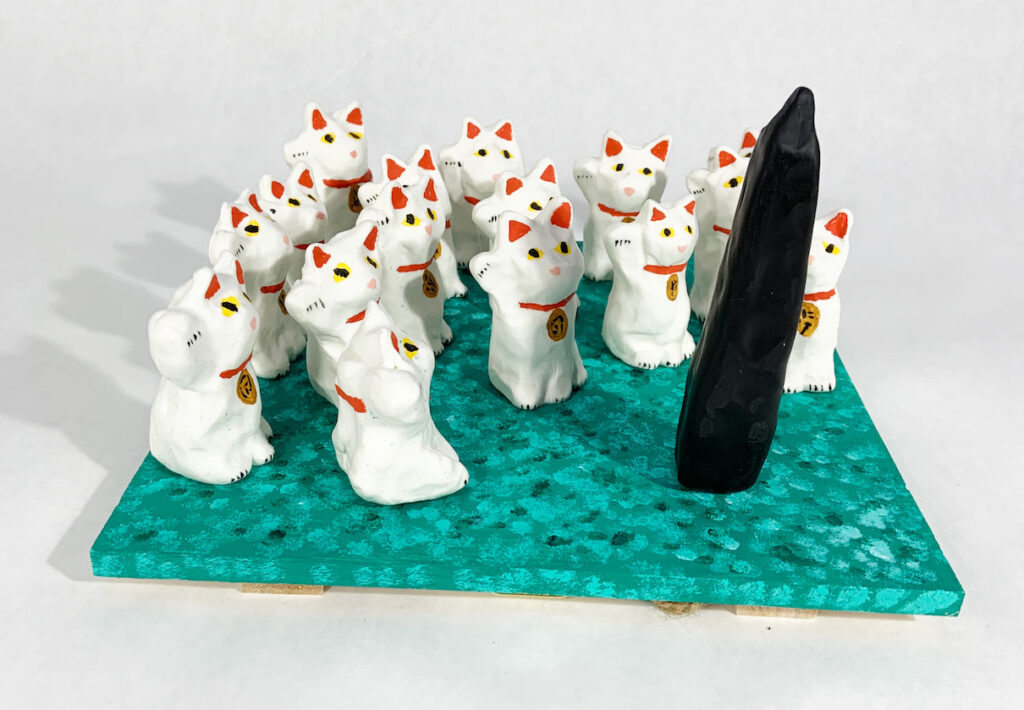
Although it took some time to paint them all (I didn’t do the spots on their body, just enough to make them identifiable), it was fun and turned out pretty funny. Here’s the whole thing from one angle:
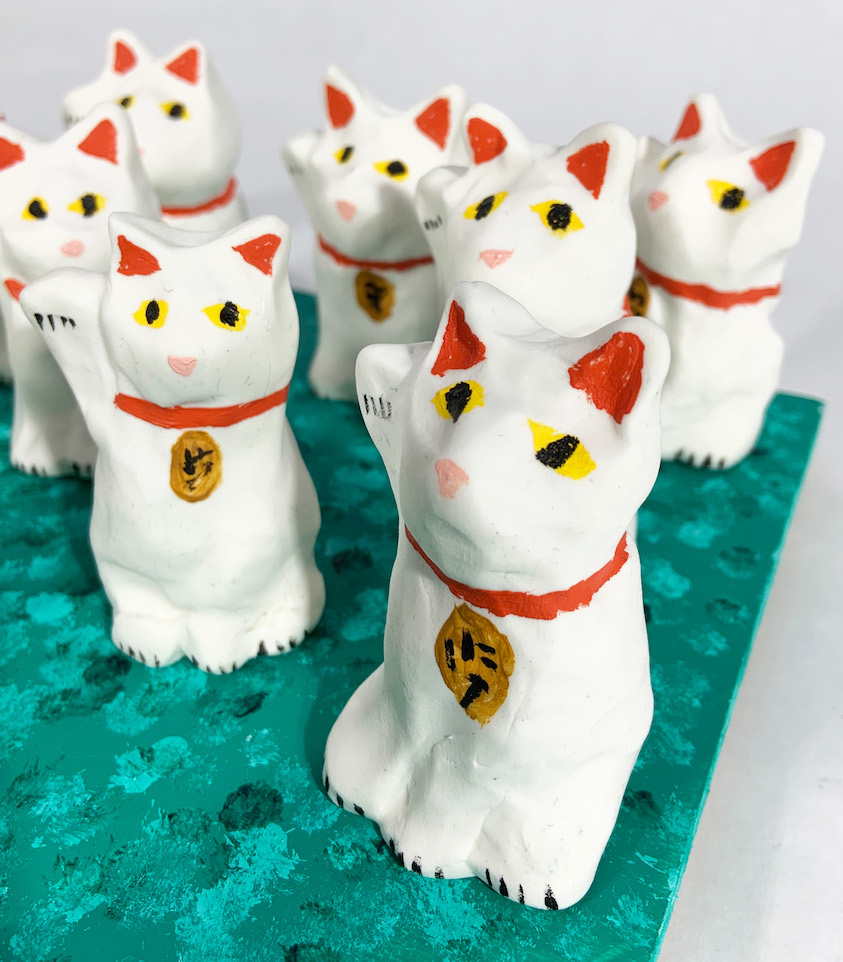
And here you can see the details on the maneki neko better:
So this is everything I did in that 3D design class, the last such class I’m taking. So I probably won’t be making any more sculptures for the sake of it, but it was still fun while it lasted. I might make some maquette, and I have more experience with this now, so it will help.